DIY Nails at Home: Salon Look Under $15
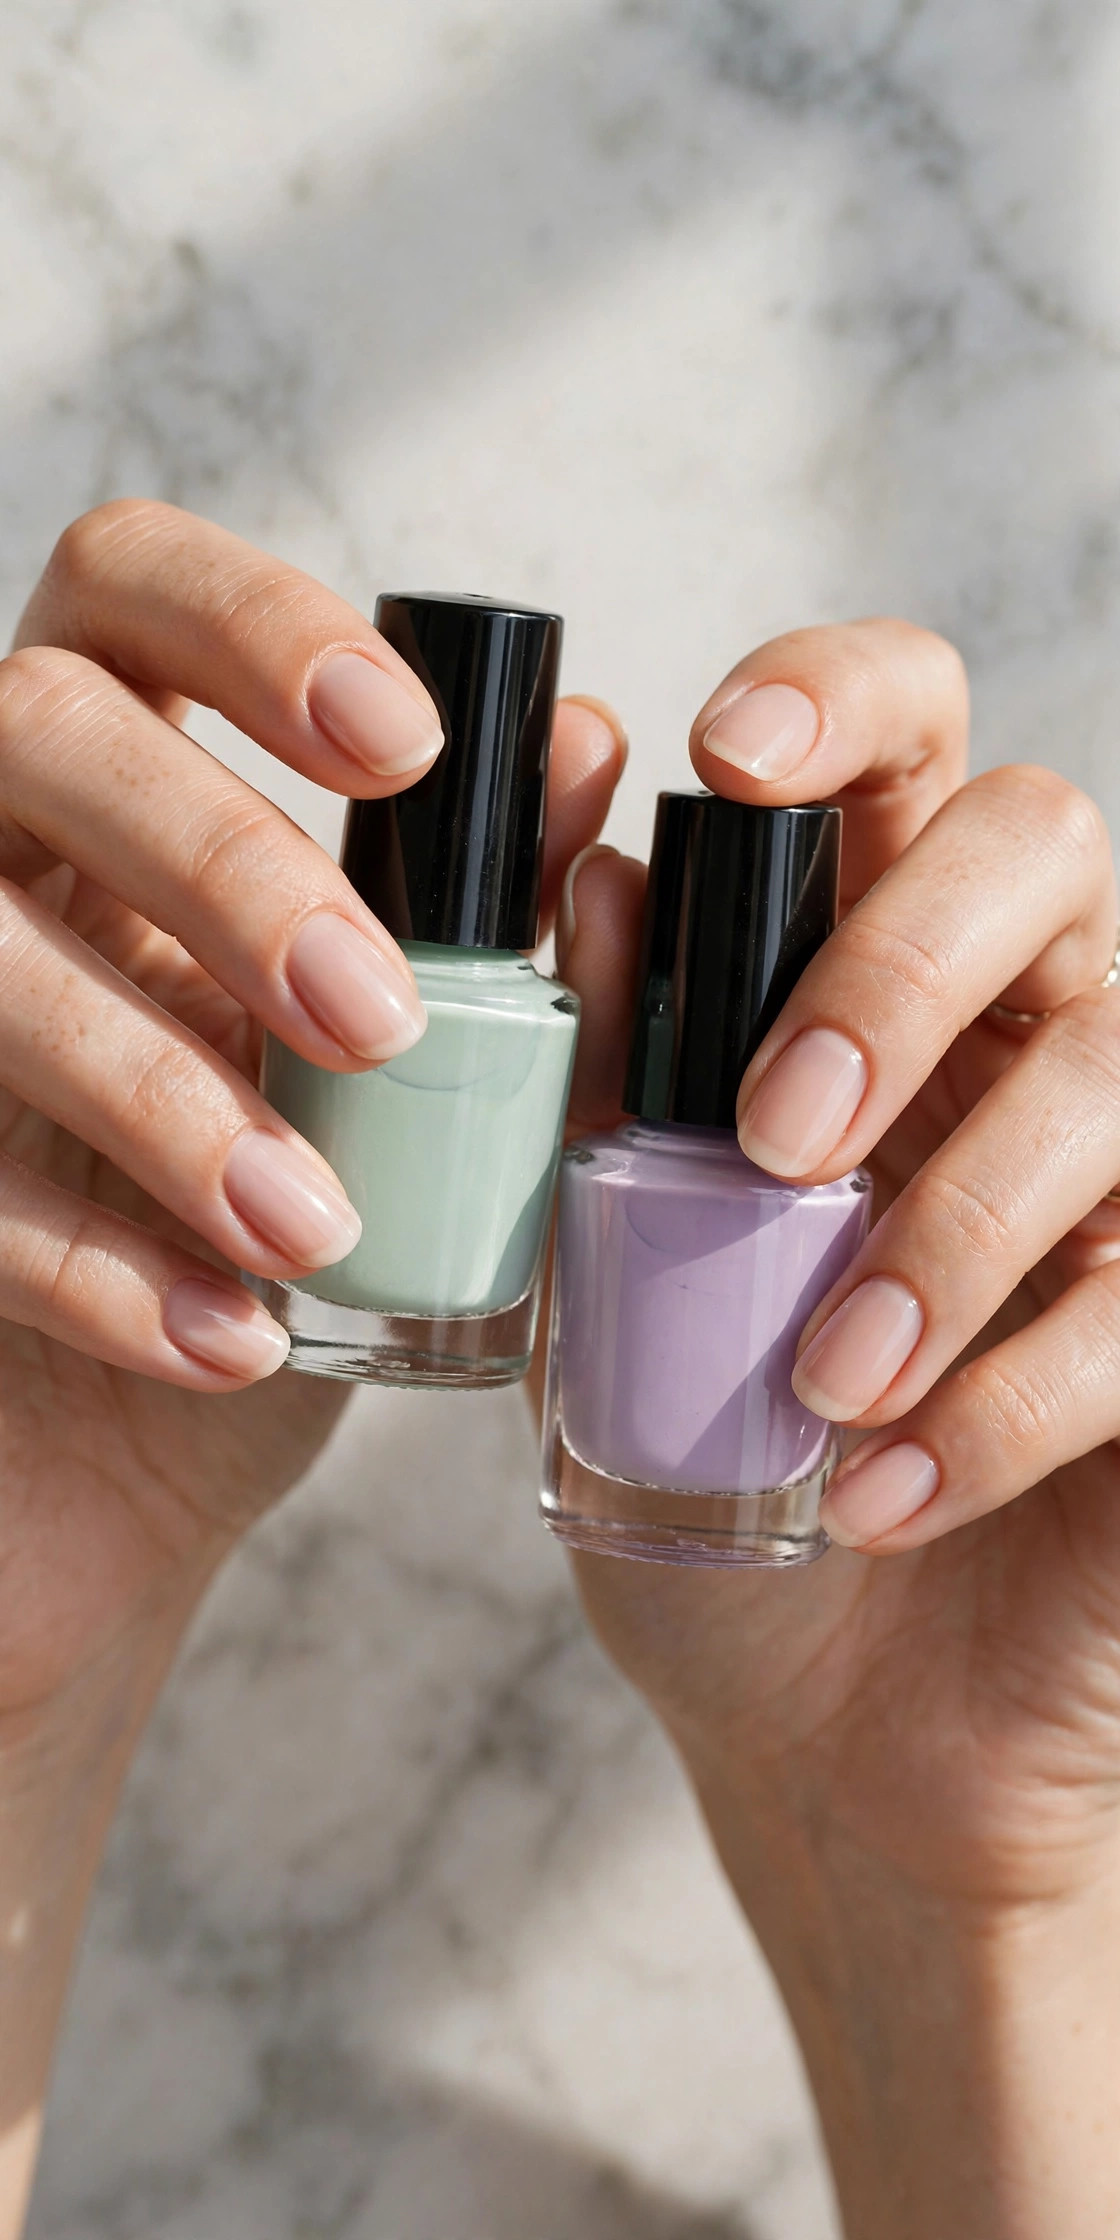
A basic salon manicure now runs $50 to $70 in most cities, and that is before the tip and the gel upsell. Meanwhile, everything the nail technician uses on your hands is sitting in the beauty aisle of your local drugstore for a fraction of the price. The secret is not talent — it is technique. Salons follow the same prep-and-polish sequence every single time, and once you learn it, your kitchen table becomes your nail bar.
This tutorial walks you through the full professional routine: soaking, shaping, cuticle care, plate prep, base coat, color, and a glossy top coat. The starter kit below costs exactly $15 total, and nearly everything in it lasts for dozens of manicures. That means your first at-home manicure costs $15, and every one after that costs about a dollar. You will save hundreds a year, and honestly? After two or three practice rounds, most people cannot tell the difference.
Set aside about 45 minutes the first time — half of that is just waiting for polish to dry. Put on a show, make some tea, and treat it like the little self-care ritual it is. Let's get started.
What You'll Need
- Emery nail file (180 grit) $2
- Buffer block, 4-sided $1
- Cuticle oil pen $2
- Orangewood cuticle sticks, pack of 10 $1
- Base coat $2
- Nude nail polish, 1 bottle $3
- Quick-dry top coat $3
- Travel-size hand cream $1
Step-by-Step
- Remove old polish and soak. Wipe off any existing polish with remover, then soak your fingertips in a bowl of warm water with a drop of dish soap for five minutes. This softens the cuticles and makes them easy to push back without tearing. Dry your hands thoroughly afterward — polish will not stick to damp nails.
- Shape your nails. File in one direction only, from the outer corner toward the center, using the emery board. Sawing back and forth frays the nail edge and causes peeling. Aim for a soft squoval (square with rounded corners) — it is the most flattering and least chip-prone shape for beginners. Keep all ten nails the same length by comparing each nail to its twin on the other hand as you go.
- Push back cuticles gently. Apply a drop of cuticle oil around each nail, then use the flat end of an orangewood stick to push each cuticle back toward the knuckle with light pressure. Never cut your cuticles — pushing is safer and salons increasingly skip cutting too. If a hangnail snags, clip only the loose bit with clean nippers and dab on oil.
- Prep the nail plate. This is the step most beginners skip, and it is why their polish chips in two days. Lightly buff each nail with the smooth side of your buffer block to remove shine and ridges, then wipe every nail with rubbing alcohol or remover on a cotton pad. You are removing the natural oils so the base coat can grip. Do not touch the nail surface with your fingers after this step.
- Base coat, two thin color coats, top coat. Apply one thin layer of base coat and let it dry two minutes. Then apply your nude polish in thin coats: three strokes per nail (center, left, right), capping the free edge by brushing polish across the very tip. Two thin coats beat one thick coat every time — thick coats bubble and stay soft. Finish with a generous layer of quick-dry top coat, again capping the tip. Wait at least ten minutes before touching anything.
- Clean up and moisturize. Dip an orangewood stick or a small brush in remover and trace around each nail to erase any polish that strayed onto skin — this one detail is what makes a manicure look professional. Massage cuticle oil into each nail bed, then finish with hand cream. Reapply top coat every two to three days and your manicure will easily last a full week.
Budget Breakdown
| Item | Cost |
|---|---|
| Emery nail file | $2 |
| Buffer block | $1 |
| Cuticle oil pen | $2 |
| Orangewood sticks (10-pack) | $1 |
| Base coat | $2 |
| Nude nail polish | $3 |
| Quick-dry top coat | $3 |
| Travel hand cream | $1 |
| Total | $15 |
Before & After
Before: you are spending $60 every three weeks at the salon, sitting under fluorescent lights scrolling your phone, and still dealing with chips by day five because the technician rushed your appointment. Your nails look fine, but your wallet feels it — that is over $1,000 a year on basic polish.
During: your first at-home attempt takes 45 minutes and looks decent from arm's length. The second one takes 30 minutes and looks genuinely good. By the third, your cuticle cleanup is clean, your coats are thin and even, and you have discovered that a nude shade is wonderfully forgiving of tiny mistakes.
After: you have a standing Sunday-night ritual that costs about a dollar per manicure in consumables. Your nails look salon-fresh every single week instead of every three, the kit paid for itself after a single skipped appointment, and you get to pick the exact shade you want instead of settling for whatever the salon has open.
Tips
- Always roll the polish bottle between your palms instead of shaking it — shaking creates air bubbles that end up on your nails.
- Store polish upright in a cool, dark drawer. Heat and sunlight thicken it and shorten its life.
- A nude or sheer shade hides regrowth, chips, and uneven application, making it the perfect beginner color.
- Reapply a fresh layer of top coat every two to three days. It takes ninety seconds and doubles your manicure's lifespan.
- Do your dominant hand first while you are fresh, then the other hand — your weaker hand's polish hand gets the easier job.
Frequently Asked Questions
- How long will a DIY manicure actually last?
- With proper prep — buffing, dehydrating the nail plate, base coat, and capping the tips — a regular polish manicure lasts five to seven days. Reapplying top coat midweek pushes it to a full week or more, which matches what most salons deliver with regular polish.
- Do I need a UV lamp for salon-quality nails?
- No. A UV lamp is only required for gel polish. For regular polish, a good quick-dry top coat gives you a hard, glossy finish without any equipment. If you later want to try gel, a basic lamp costs around $15 — but master regular polish first.
- What if my polish always bubbles or streaks?
- Nine times out of ten, the coats are too thick. Use less polish on the brush than you think you need, wipe one side of the brush on the bottle neck, and do two whisper-thin coats instead of one heavy one. Also let the base coat dry fully before adding color.