Thrift Flip: Oversized Shirt to Chic Top
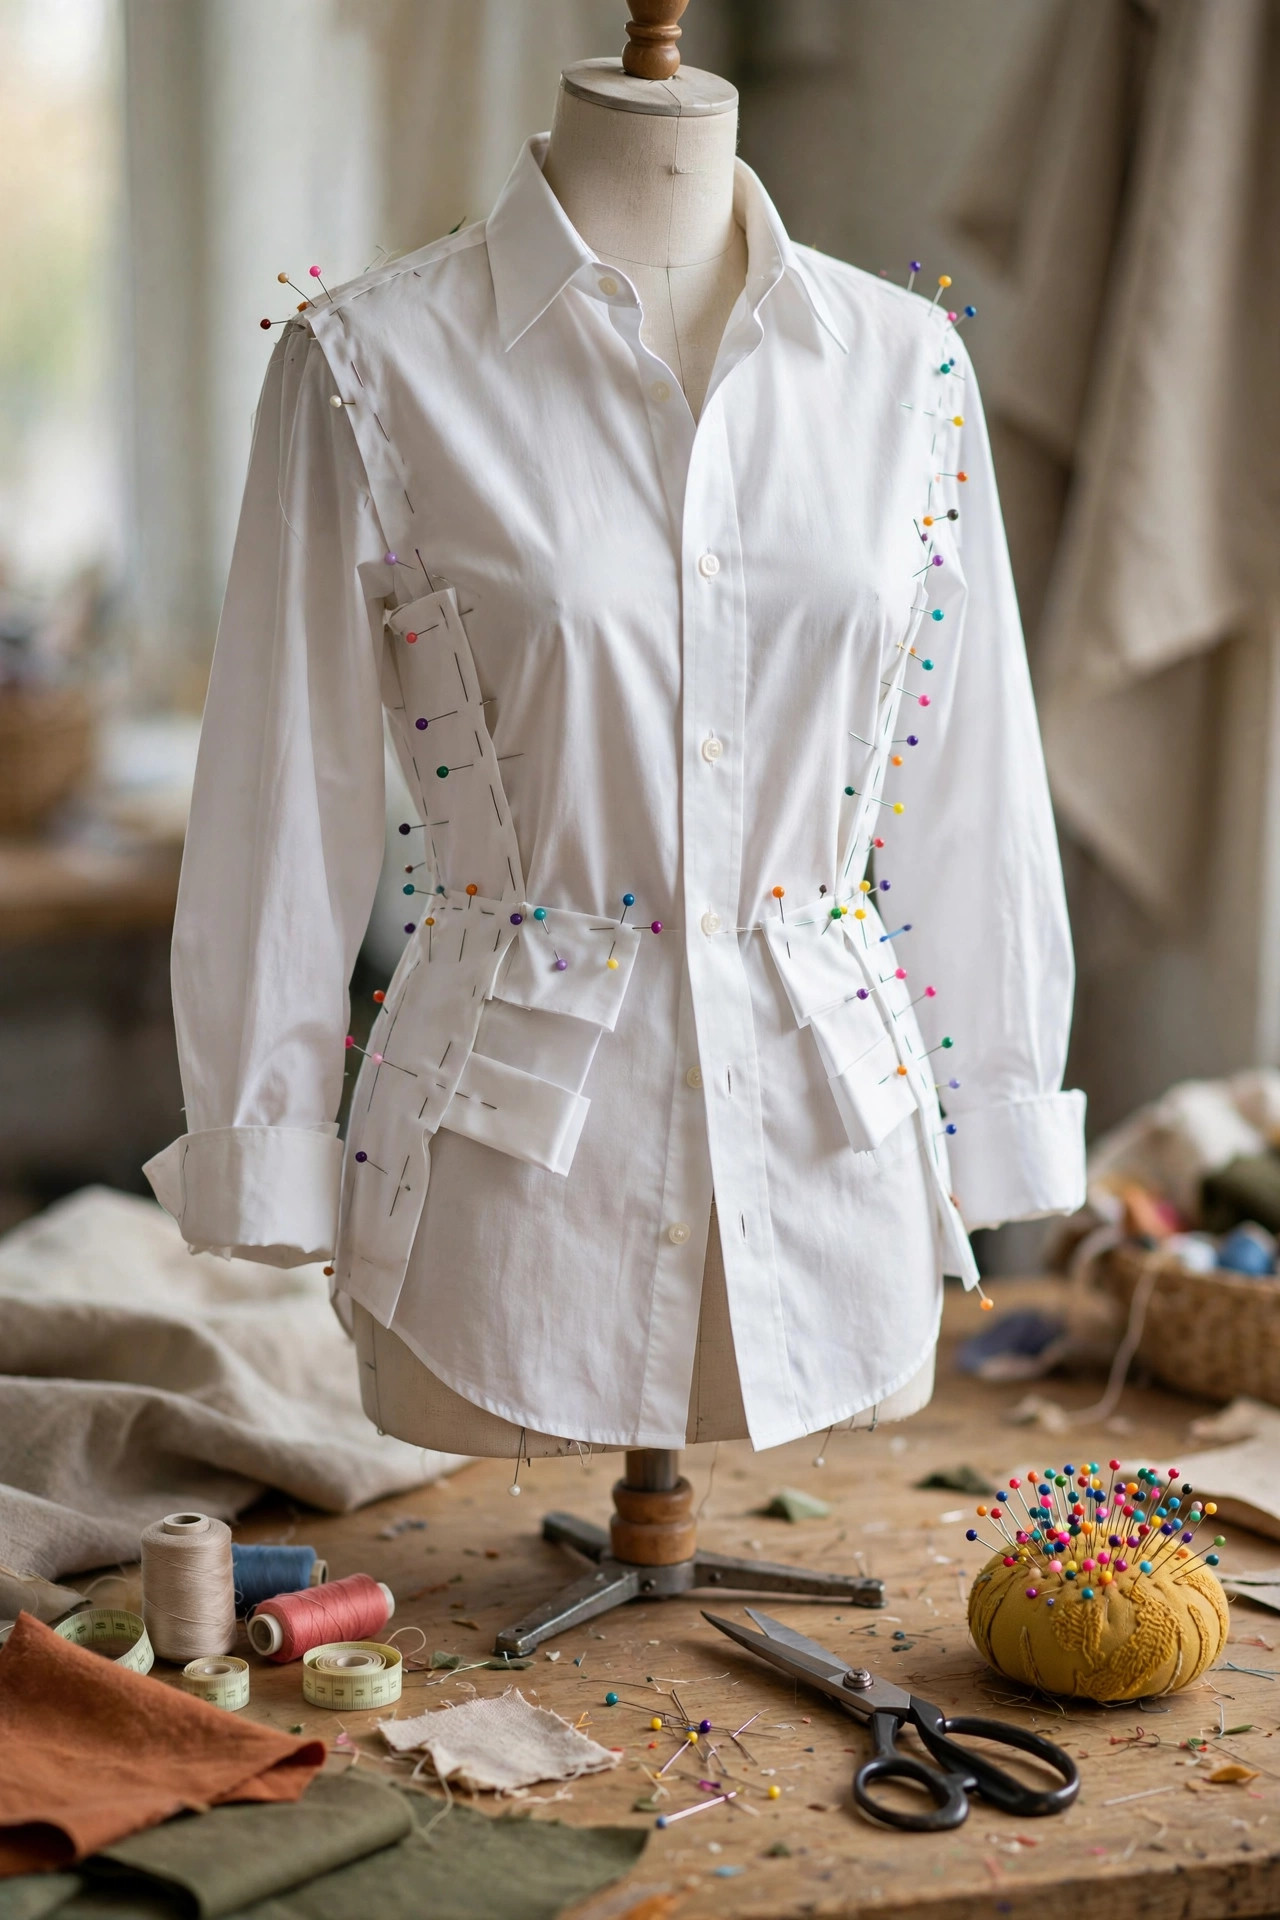
The oversized button-down is the thrift store's most underrated treasure. Men's XL and XXL shirts hang on the racks for $3 to $5 in crisp cotton, linen, and chambray — fabrics that would cost $40 or more new. The problem is they are cut like tents. The opportunity is that taking a shirt in is one of the easiest alterations in existence, and you do not even need a sewing machine to get a wearable result.
This tutorial gives you two paths. The no-sew method takes about 20 minutes with just pins, hem tape, and an iron, and it produces a cute cropped tie-front top. The basic-sew method takes about an hour with a needle and thread (or a beginner machine) and produces a genuinely fitted shirt that looks tailored. Both start with the same $4 shirt and the same $12 kit, so pick your comfort level and let's flip it.
When you are thrifting the shirt, look for 100% cotton or cotton blends with no stains, working buttons, and intact cuffs. Size up on purpose — an XL gives you enough fabric to reshape, while a shirt that already fits leaves you nothing to work with. Stripes, white, and chambray are the most versatile; save the wild prints for after your first successful flip.
What You'll Need
- Thrifted XL button-down shirt $4
- Seam ripper $2
- Fabric chalk or washable marker $1
- Glass-head pins, pack of 50 $1
- All-purpose thread (white or matching) $1
- Spare button set $2
- Iron-on hem tape, 3-yard pack $1
Step-by-Step
- Wash, dry, and press the shirt. Thrifted shirts must be washed before you cut anything — cotton can shrink, and you want the final fit based on the post-wash size. Iron it flat afterward. Trying to pin or mark wrinkled fabric is how crooked seams happen, and five minutes with the iron prevents all of it.
- Decide your silhouette and mark it. Put the shirt on inside out and pinch the excess fabric at the side seams until it skims your body. Have a friend help, or pin it yourself in front of a mirror. Mark the new seam line with fabric chalk from the underarm down to the hem on both sides. For a cropped look, also mark where you want the new hem to hit — usually right at or just above the waistband of high-rise jeans.
- No-sew method: pin, tuck, and tie. Button the shirt, then fold the back shirttail up and pin it inside to shorten from the rear. Gather the two front tails, twist them once, and tie in a knot at your natural waist for a cropped tie-front top. Secure the knot with two crossed pins from the inside, and use iron-on hem tape to tack down any flapping side fabric. Done in 20 minutes, no needle required.
- Basic-sew method: take in the side seams. With the shirt inside out and your chalk lines marked, sew a straight stitch along each new side-seam line using a simple running stitch or a machine's straight stitch. Sew slowly and backstitch at the start and end. Try it on right-side-out before trimming — you can always take in more, but you cannot add fabric back.
- Crop and hem the bottom. Cut the shirt 1.5 inches below your marked hem line to leave a seam allowance. Fold the raw edge under by half an inch, press with the iron, fold under another inch, press again, and sew or iron-tape the hem down. The double fold hides the raw edge completely, which is what separates a "craft project" from a "tailored top."
- Finish the details. Replace any loose or mismatched buttons with your spare set — fresh buttons are a tiny detail that reads as expensive. Snip loose threads, give the whole top a final press, and try it on with the outfit you plan to wear it with. If the sleeves are too long, roll them twice and tack the roll with one hidden stitch or a strip of hem tape.
Budget Breakdown
| Item | Cost |
|---|---|
| Thrifted XL button-down shirt | $4 |
| Seam ripper | $2 |
| Fabric chalk | $1 |
| Glass-head pins (50-pack) | $1 |
| All-purpose thread | $1 |
| Spare button set | $2 |
| Iron-on hem tape | $1 |
| Total | $12 |
Before & After
Before: a sad, shapeless men's XL hanging off your shoulders, sleeves swallowing your hands, hem hitting mid-thigh. It cost $4 and looks like it. You almost put it back on the rack twice.
During: the shirt is inside out on your ironing board, chalk lines marking a silhouette that actually follows your body. The first seam feels nerve-wracking, the second feels fine, and by the hem you are wondering why you ever thought sewing was hard. The no-sew version is even faster — pin, tie, tape, done.
After: a fitted cropped button-down that tucks perfectly into high-rise jeans, with real buttons, clean hems, and not a raw edge in sight. It looks like a $45 boutique top. Total spend: $12, and the tools in your kit are ready for the next five flips.
Tips
- Always cut less than you think you need — you can take a seam in twice, but you cannot undo a cut.
- Press every seam with the iron before and after sewing. Pressing is half of what makes handmade look professional.
- White, chambray, and thin stripes hide imperfect stitching; save dark solids and bold prints for later flips.
- A seam ripper is your eraser — a wobbly seam takes 60 seconds to remove and redo, so never settle for one you hate.
- Keep the leftover fabric scraps. They become pocket squares, scrunchies, or patches for your next project.
Frequently Asked Questions
- Do I really not need a sewing machine?
- Correct — the no-sew method uses only pins, iron-on hem tape, and a knot, and it holds up fine for regular wear. A needle and thread (or a basic machine, if you have one) just gives you a more permanent, tailored result for the sew method.
- What if I mess up the seam?
- That is what the $2 seam ripper is for. Slide it under the stitches, pop them out, press the fabric flat, and sew again. Beginners should expect to redo one seam per project — it is part of the process, not a failure.
- Which thrifted shirts flip best?
- Look for 100% cotton or cotton-blend button-downs in men's XL or XXL with no stains, all buttons present, and solid cuffs and collars. White, light blue, chambray, and classic stripes are the most versatile and the most forgiving of beginner stitching.